Help
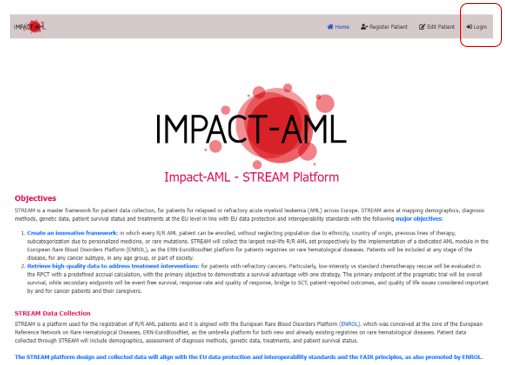
In the home page you will find a brief summary of STREAM and objectives.
The access for the registration/edition of patients’ data is strictly regulated to protect the data privacy rights of the patients, therefore only authenticated users can request access to use STREAM by personal username and password.
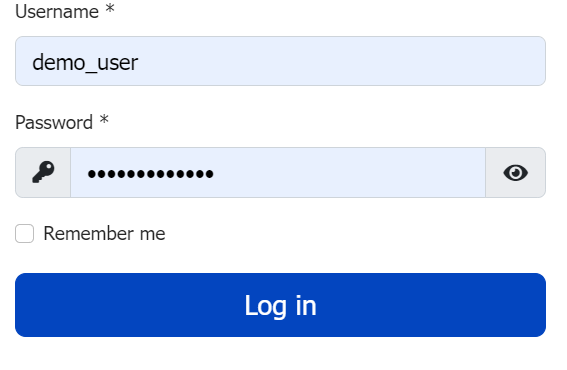
By clicking on the “Login” button at the top right of the Home page, you can either request the creation of your credentials or directly login:
User registrations are reviewed by IMPACT-AML team in order to approve or ask for further information.
Please contact us at:
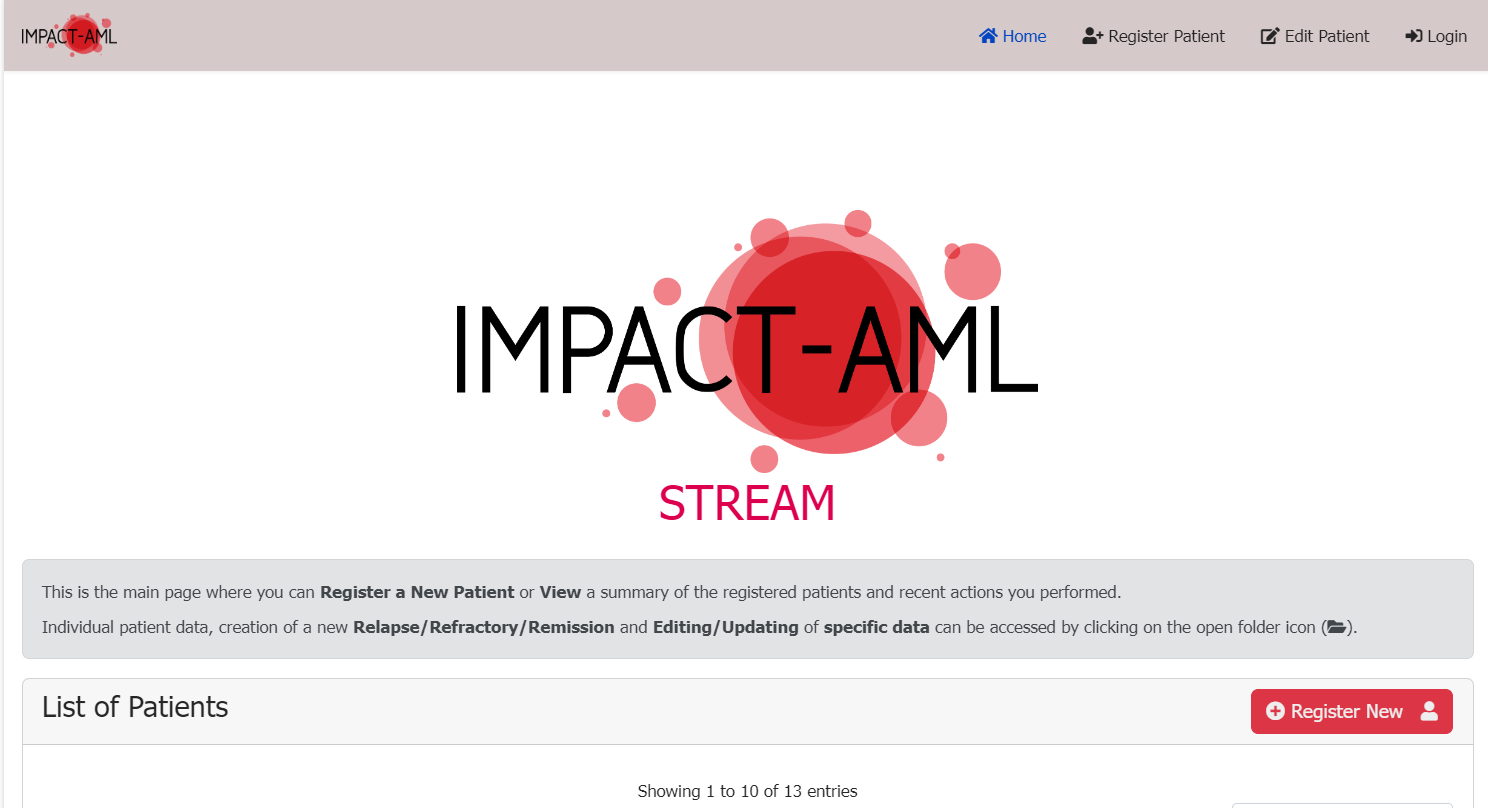
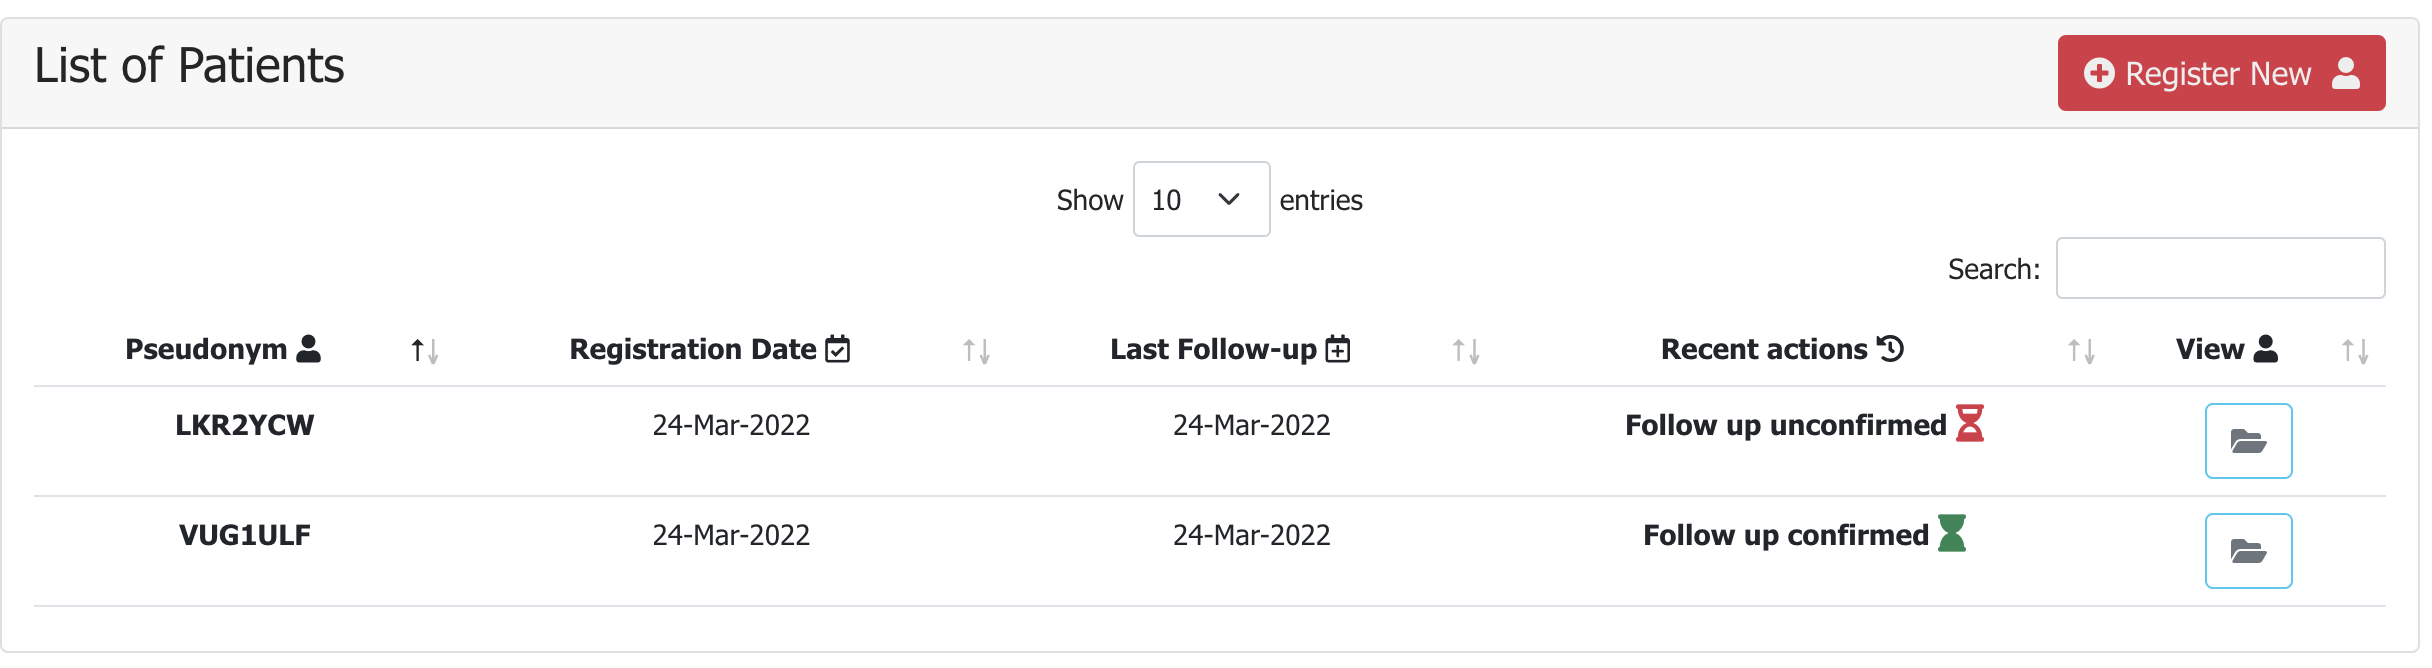
Once you have successfully logged in, you will enter in the main page where you can Register a New Patient or View a summary of the registered patients and recent actions you performed.
Data entry is conceived in three different main steps detailed in the chapter Entering patient data:
- Register new patient: Basic Mandatory data for the generation of patient’s pseudonym
- First diagnosis data registration: Mandatory/Optional patient’s data entered for the first time
- Follow up (in Relapse/Refractory/Remission): Mandatory/Optional patient’s data update from last follow up
Mandatory/Optional elements to be completed in First diagnosis and Follow-up
registrations are divided into the following four major categories
Categories:
- Demographics
- Assessment
- Treatments
- Survival
You can navigate through the Categories by pressing them on the navigation bar located below the patient pseudonym and First Diagnosis or Relapse/Refractory or Remission date:

Inside each Category you can find the elements grouped in Sub-sections.
- Data parameters marked with * are mandatory and should be completed before pressing the Save button.
- You need to Save all sub-sections and Confirm all changes in order the First diagnosis/Relapse/Refractory/Remission data to be confirmed. Otherwise, the patient information will remain unconfirmed.

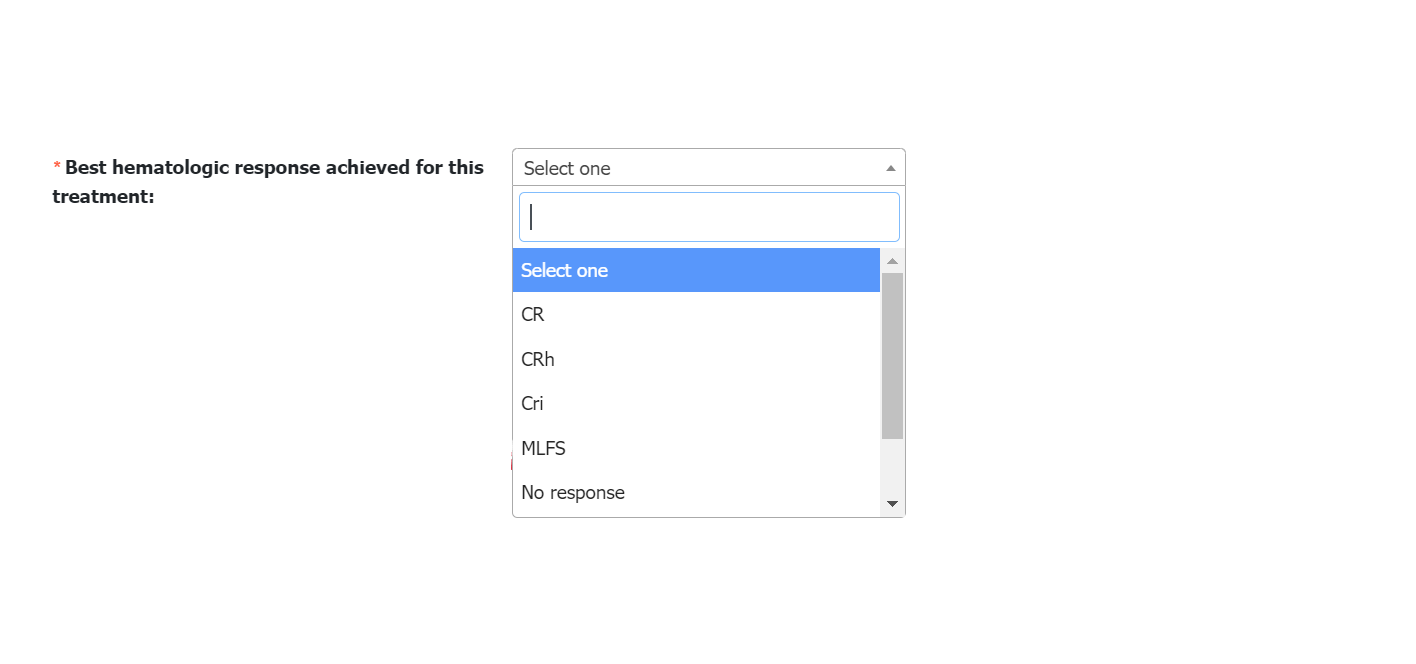
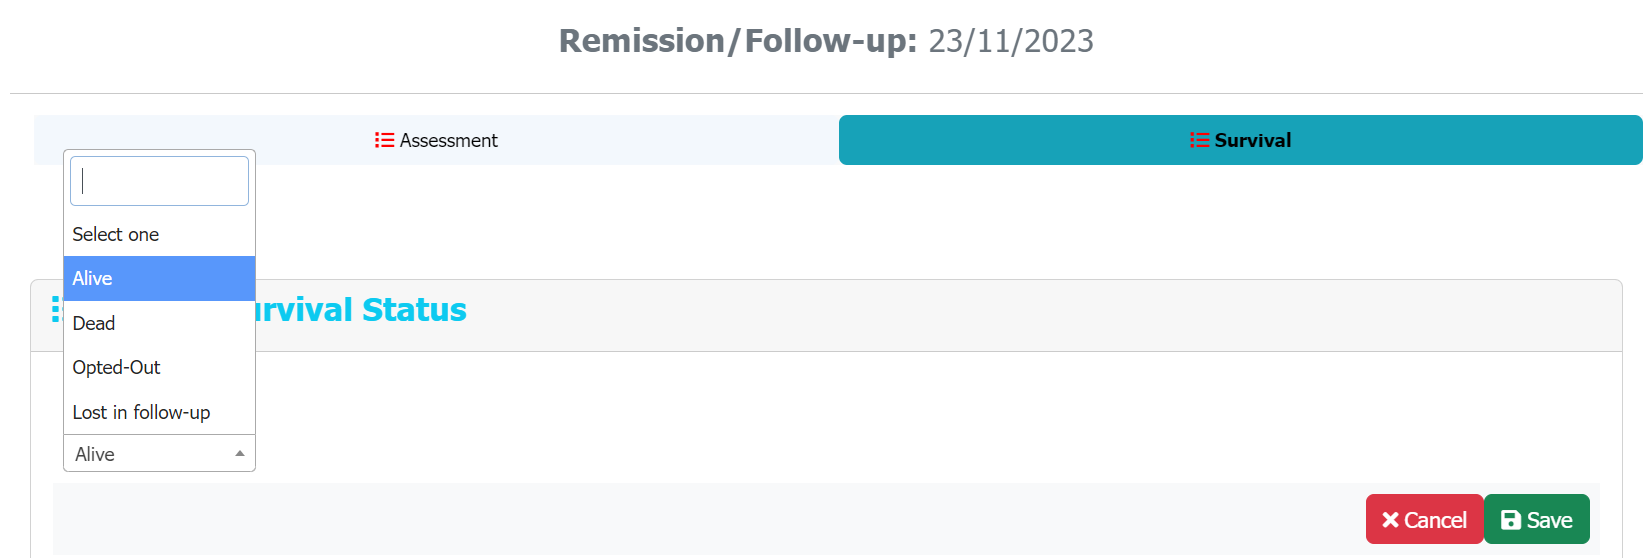
While completing patient’s data, you will find specific elements with a predefined list of options to be selected, including:
-
Single option selection: Dropdown lists with all the options shown in order to be scrolled,
also findable by writing in the searching box, i.e.:
-
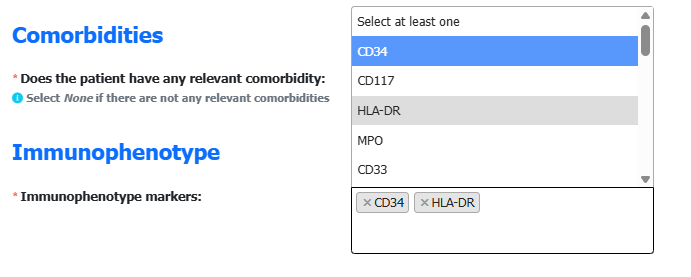
Multiple option selection: Dropdown lists with all the options shown in
order to be scrolled, also findable by writing in the searching box. All the options
selected are shown in the box with a “tag” including an “x” at the left for removal, i.e.:
-
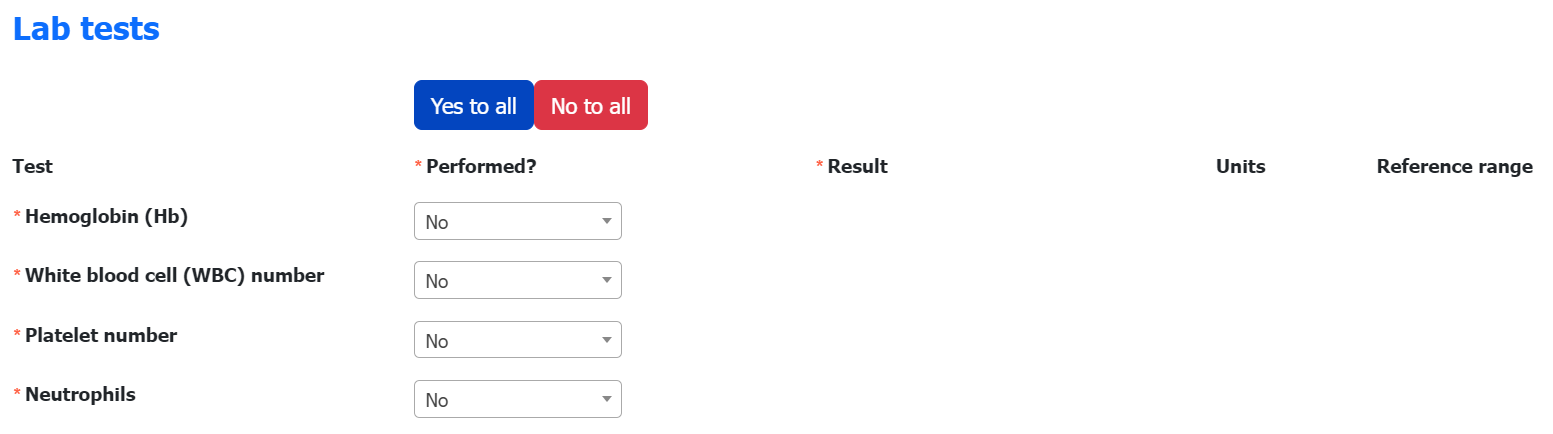
“Yes to all”, “No to all” buttons:
are available in those blocks of elements including different yes/no items, i.e.:
You will be able to register a new patient by clicking the button in the main page.
Patient pseudonym will be automatically generated by the platform after saving all the requested data, including:
-
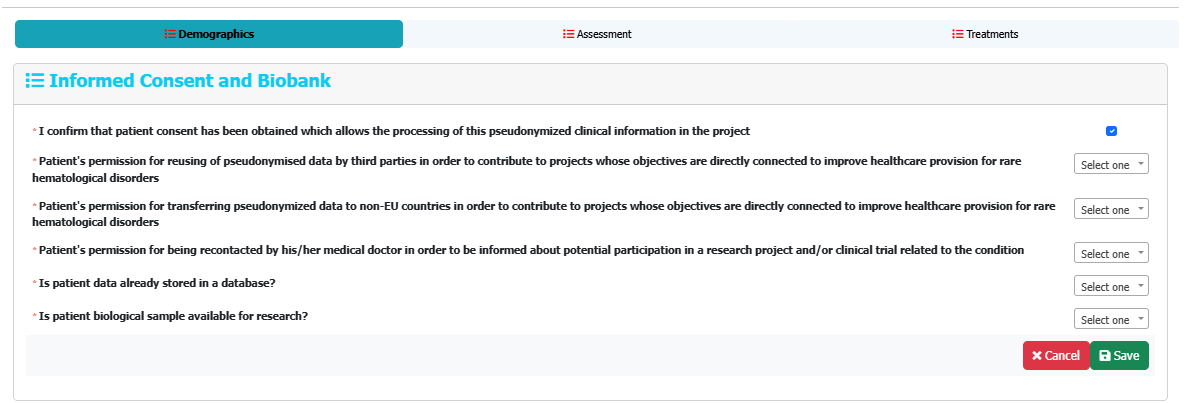
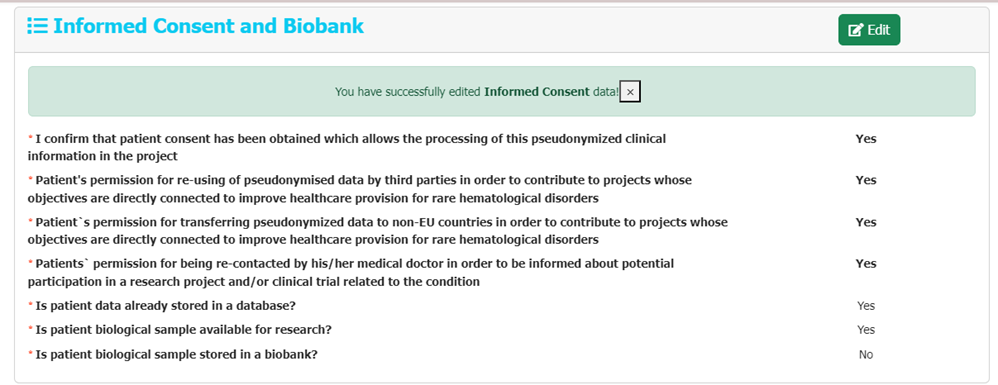
Informed Consent and Biobank: Insert the statements signed in the patient's consent.
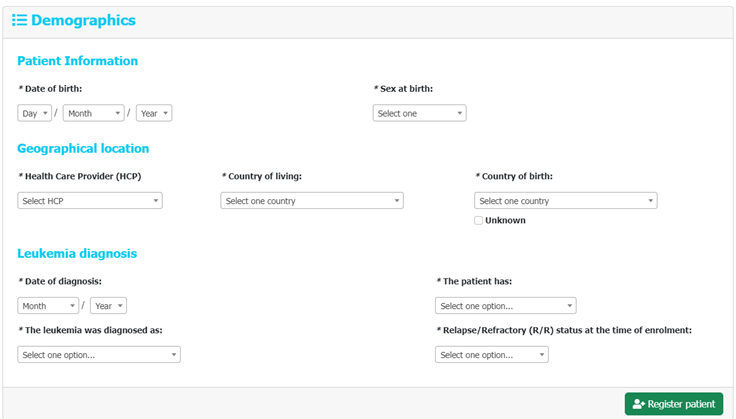
Please note that the check-box confirmation of the obtention of patients’ consent for the processing of pseudonymised data within STREAM is mandatory for proceeding with the registration. - Demographics:
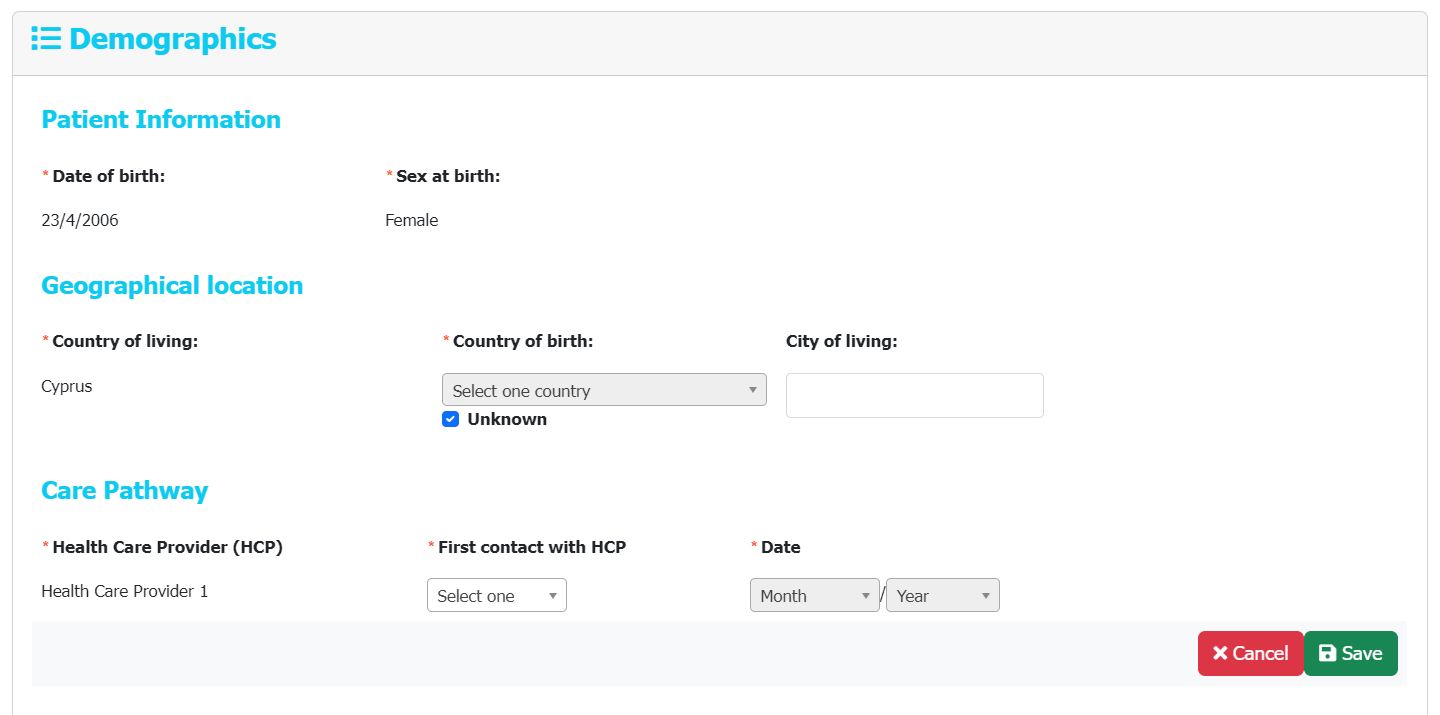
- Date of birth and gender at birth.
- Country of living and of birth.
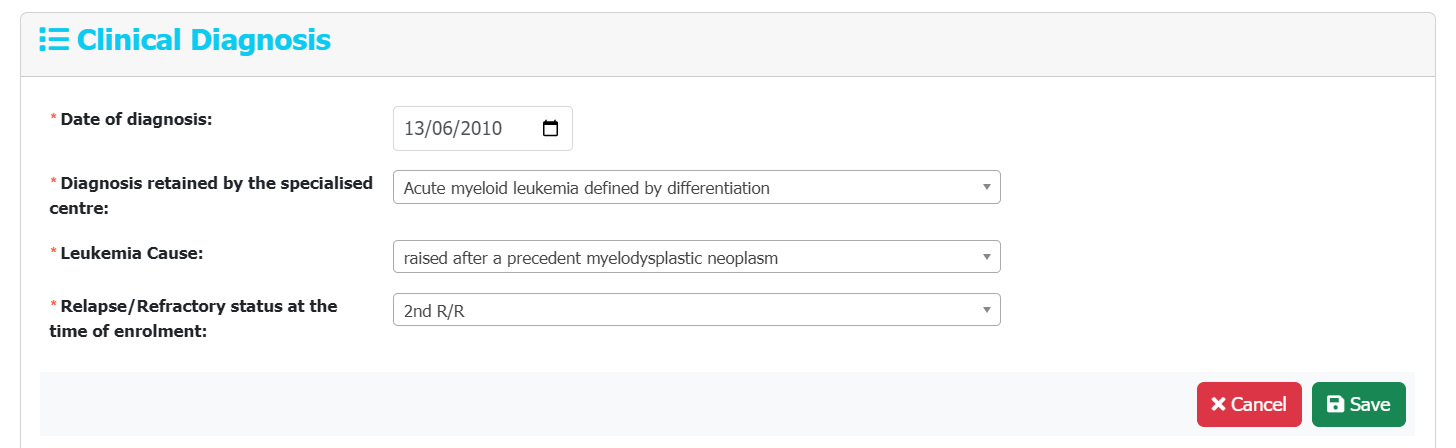
- Leukemia diagnosis details.
All data elements are mandatory and should be completed before proceeding to button at the end of the page:

After clicking on Register patient, the pseudonym is generated by STREAM, please save the pseudonym at your local level in order to keep the track of patient identity.
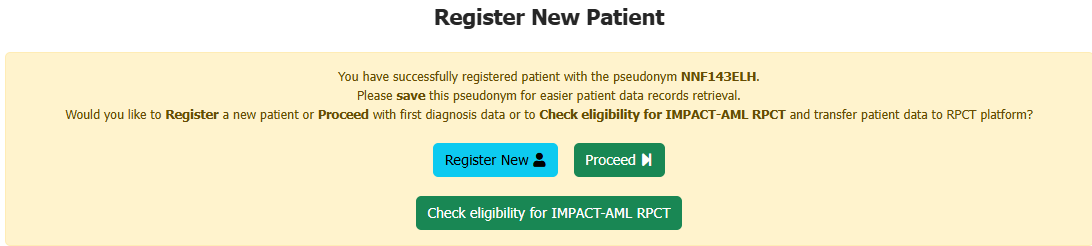
You have the possibility of proceeding with a new registration or to complete first diagnosis data of the patient registered.
First diagnosis data of the registered patient can be accessed either directly after registering successfully the patient or accessed through the patient history. First diagnosis data are the baseline patient data at the time of patient's diagnosis. From the list of all the patients, select (or search) the pseudonym of the patient you would to like to view/edit by clicking the folder icon in column View.
After selecting a patient to view/edit, their medical history is shown. By clicking the folder icon in column View, you can view/edit the patient first diagnosis or specific follow-up data.

- Data Entry per Categories
Including Informed Consent and Biobank,
Demographics information, and Clinical Diagnosis information where you can modify
and/or expand the data included in the registration step:
Once all Mandatory
elements (at least) are filled, you can “Save”
at the bottom of the page. After saving, you have the possibility
of “Edit” at the button at the top right side of the Sub-category.

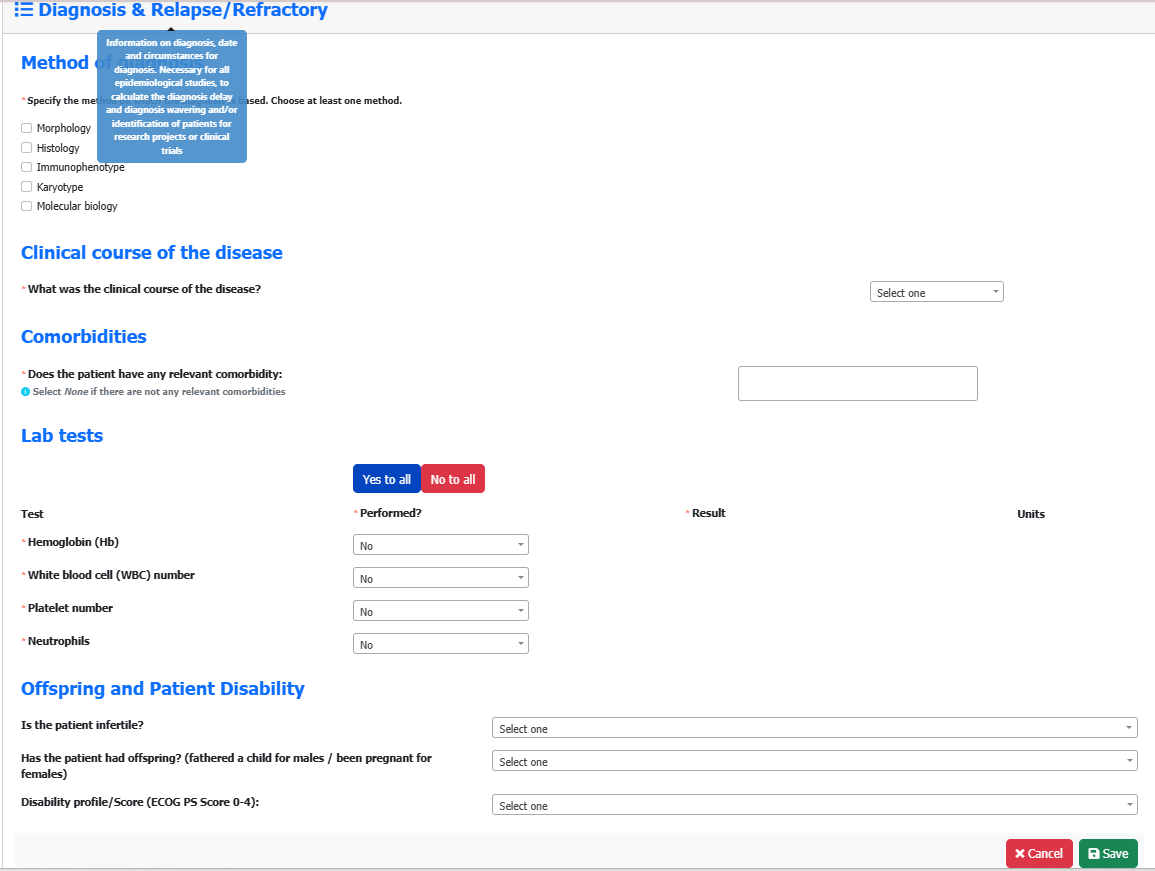
Including specific elements related to the: Method and time of diagnosis, Clinical course of the disease, Comorbidities, Testing data based on the method of diagnosis, Offspring and patient disability data and Biological/lab test performed.
Complete as required (* Mandatory). Additional specific questions will be automatically requested depending on the method of diagnosis and/other options selected.
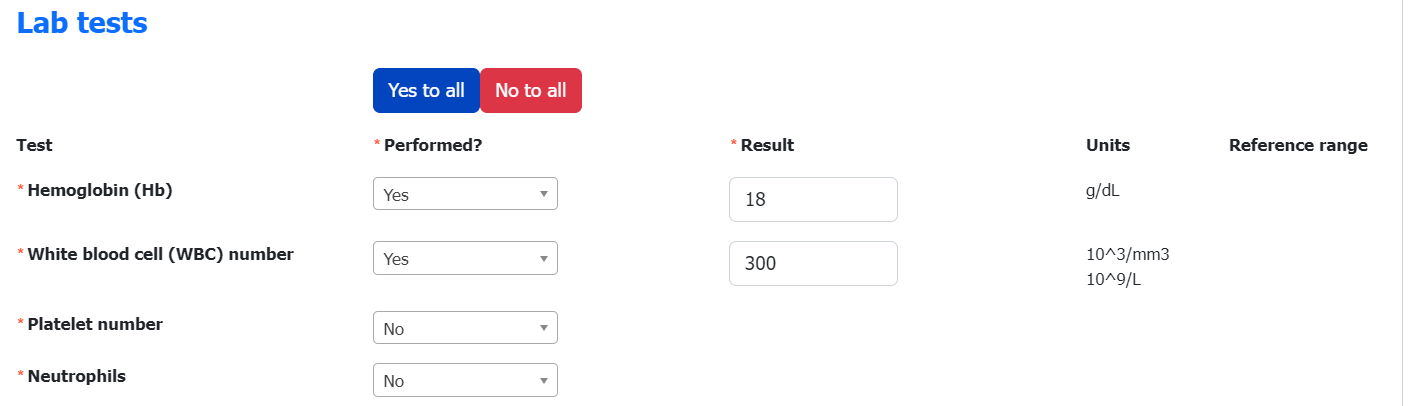
Similarly, completion of lab tests parameters is facilitated by the buttons:
- Yes to all: where performance of all tests will be selected as “Yes” and related Result cells will be shown for data entry. Thus, you can also easily mark as “No” the tests not performed.
- No to all: where performance of all tests will be selected as “No”. Thus, you can also easily select as “Yes” the elements performed in order to include the Results.
Once all Mandatory elements (at least) are filled, you can “Save” at the bottom of the page. After saving, you have the possibility of “Edit” at the button at the top right side of the Sub-category.

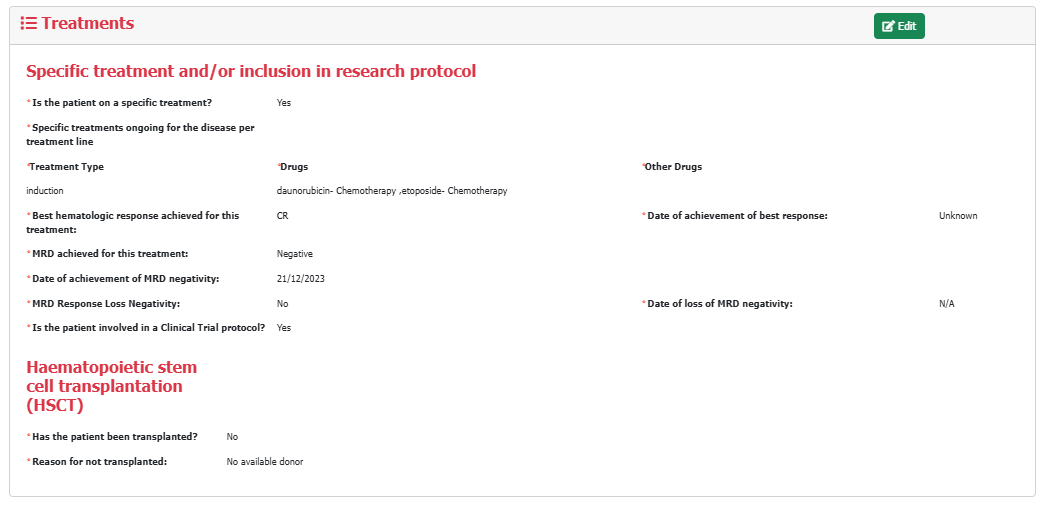
Including specific elements on specific treatments,the MRD response for this treatment, the best response achieved for this treatment, and performance of hematopoietic stem cell transplantation.
Complete as required (* Mandatory). Additional specific questions will be automatically requested depending on the MRD negativity and/other options selected.
Once all Mandatory elements (at least) are filled, you can “Save” at the bottom of the page. After saving, you have the possibility of “Edit” at the button at the top right side of the Sub-category.
-
Confirmation of First Diagnosis Registration
Once the Categories have been properly completed and saved, you can click on “Confirm all changes”.

If there is some category pending to be saved, a warning message appears:
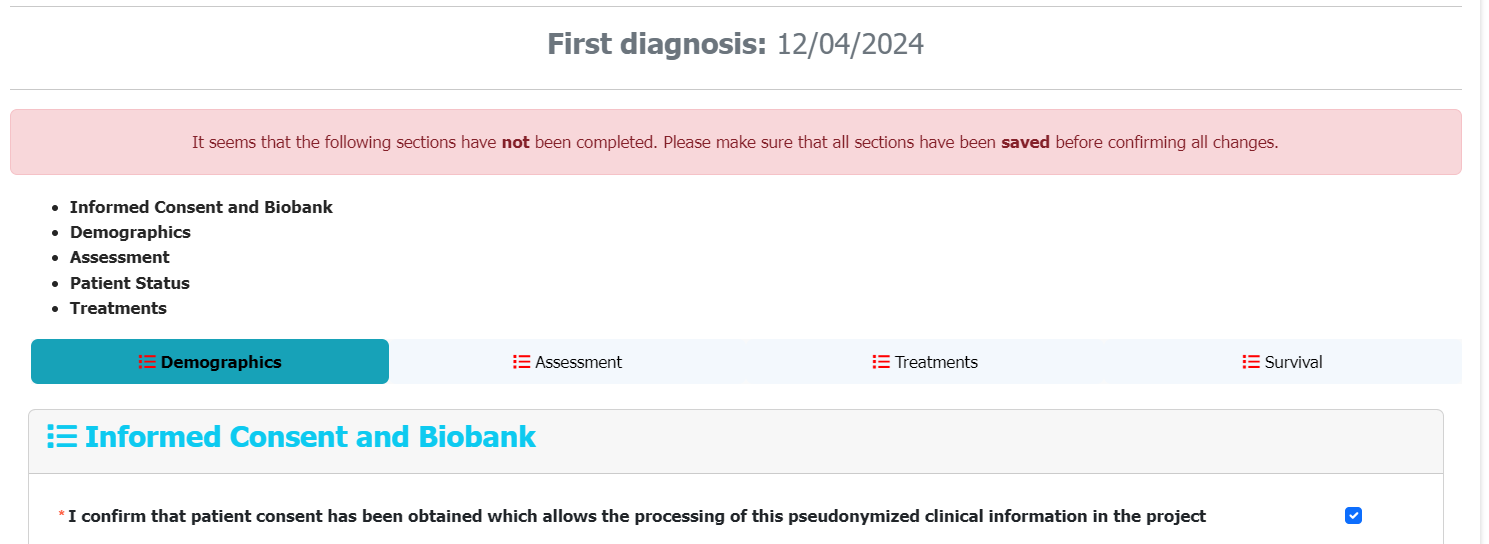
After Confirm all changes, you are directed to the Patient Medical Record page, where the registration is completed and shown as “First diagnosis confirmed”. Otherwise, the patient information will remain unconfirmed.
Creation of a new Follow-up can be accessed by clicking on the open folder icon available at the column View of the list of patients in the STREAM Home page:
The folder will take you to the Patient Medical Records page, where you will be able to click on Follow up:
-
Data entry/update per Categories
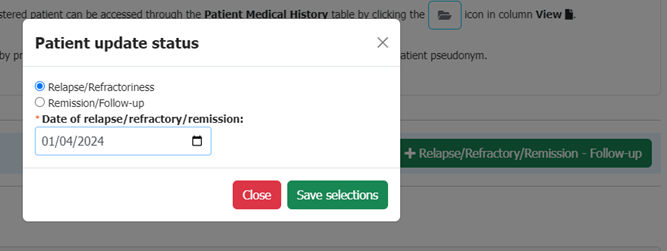
After clicking Relapse/Refractory/Remission, a pop-up window is appeared where you have to select the patient diagnosis stage at this follow-up and to enter the date of the follow-up. After saving the changes, the new follow-up episode (in Relapse/Refractory or in Remission) is added in the patient medical history.
- - If adding follow-up data of a patient in Relapse/Refractory stage, fixed elements (Informed Consent, Demographics and Clinical Diagnosis subsections) are not displayed as they are only introduced once.
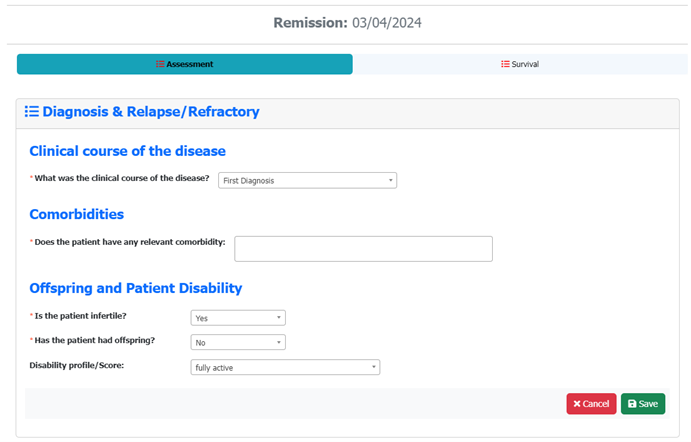
- - If adding follow-up data of a patient in Remission stage, only the Survival elements and some Assessment elements are displayed (Clinical course, Comorbidities , Offspring and Patient Disability elements).
-
Confirmation of Follow-up registration
In line with the steps performed for the First diagnosis registration, once the (3 Categories in Relapse/Refractory and 2 Categories in Remission) have been properly completed/updated and saved, you can click on “Confirm all changes” button. If there is some category pending to be saved, a warning message appears.
After Confirm all changes, you are directed to the Patient Medical Records page, where the registration is completed and shown as “Relapse/Refractory (or Remission) confirmed”. Otherwise, the patient information will remain unconfirmed.

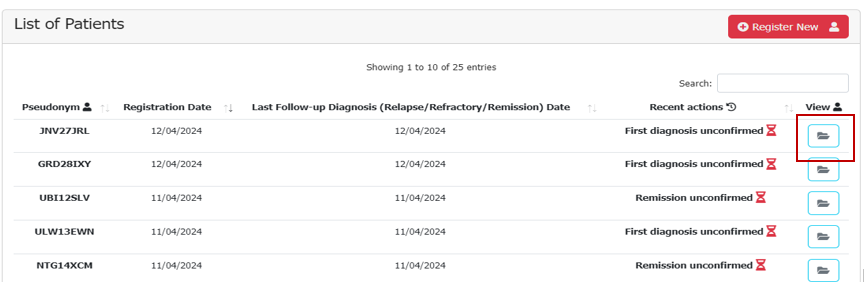
Patient data can be accessed by clicking on the open folder icon available at the column View of the list of patients in the STREAM Home page:
To search for a particular patient, you can type (a part of) the pseudonym in the search box

First Diagnosis and Follow-up (Relapse/Refractory/Remission) data can be accessed by clicking on the open folder icon available at the column View of the list of patients in the STREAM Home page:
After the successful patient registration, the user will be able to check the eligibility based on basic inclusion/exclusion criteria for the Impact-AML RPCT and transfer patient data to RPCT platform, if the user has access to transfer patient data.
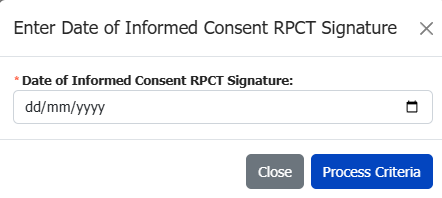
When the user clicks the button , a pop-up window is displayed to first complete the date of informed consent RPCT signature.
After successfully entering the date of informed consent signature for the RPCT, if the patient is eligible, a confirmation message will appear. This message includes a list of satisfied eligibility criteria and a link to the RPCT REDCap platform.

If the patient is not eligible, the user can check the List of Criteria to find out which criteria are not satisfied.

If the user does not have access to transfer the patient data, the following message is displayed.

Once entering the patient medical history page to verify eligibility criteria and transfer patient data, click the button.
A modal window is shown to select one Clinical Trial to check for eligibility. Select the Impact-AML RPCT and then click the button.

Then, a pop-up window is displayed to first enter the date of informed consent RPCT signature.
After successfully entering the date of informed consent signature for the RPCT, if the patient is eligible, a confirmation message will appear. This message includes a list of satisfied eligibility criteria and a link to the RPCT REDCap platform.

To view or update patient data on the RPCT platform, users must first log in to REDCap using their credentials.

If the patient is not eligible, the user can check the List of Criteria to find out which criteria are not satisfied.
If the user does not have access to transfer the patient data, the following message is displayed.
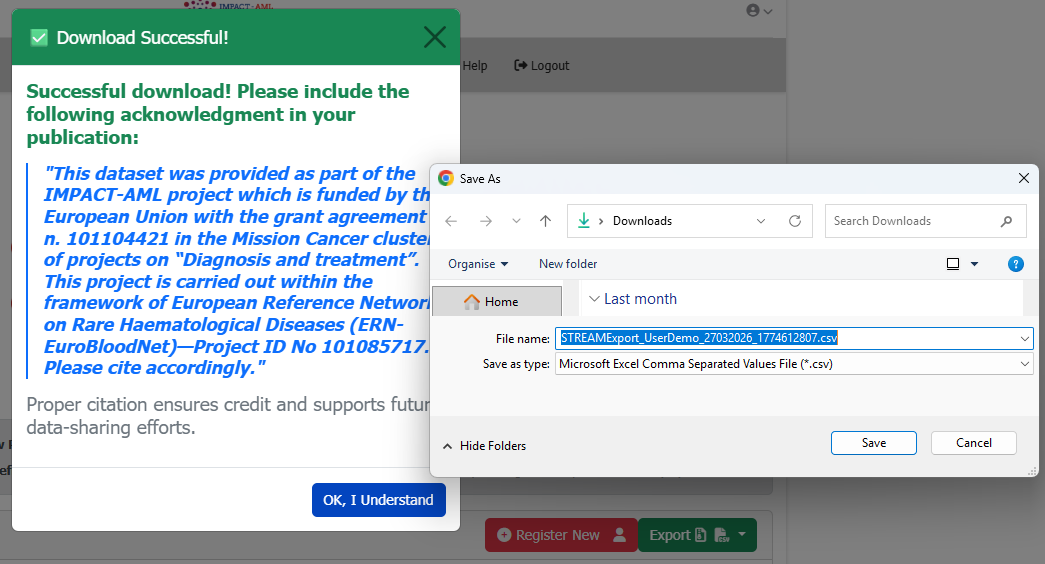
From the view patient data page, you will be able to export all patients data from your centre (HCP) in a Comma Separated Values (csv) file format by clicking the button located at the heading of the List of Patients table in the main page.
When you select 'Download Patient Data', a CSV file will be generated. A window will then appear prompting you to save this file to your local drive. Additionally, an acknowledgement for proper citation window will be displayed, as shown below:
To assess the data quality of the patient records registered under your centre (HCP) and correct any validation errors, follow these steps: First, click on 'Data Reports' from the menu, then select 'Data Quality'. Next, choose your centre (or multiple centres, if you are a coordinator) and click the button. You will then see a table displaying all the validation errors for review and correction.
How to read the report
The generated Excel file contains the following columns:
- Patient ID: The pseudonym of the patient record that violates a data quality rule. (This field is clickable and redirects to the patient’s medical history to help you resolve the issue.)
- Episode Date: The date of the episode for that record.
- Follow-up Visit: The patient’s status — First Diagnosis, Relapse/Refractory, or Remission.
- HCP Group: The name of the centre entering the record.
- Section: The section in STREAM where the rule is violated.
-
Type of Error: Indicates whether the issue is:
- Warning: Should be reviewed carefully
- Error: Must be corrected
- Solution: Guidance on how to resolve the issue.
- Parameter: The relevant parameter name or additional details about the issue.
Additional features: You can sort, search, or use dropdown filters on each field to quickly find specific records. The table can also be exported or saved in Excel, CSV, PDF formats, or copied to another file for further use.